

If you’ve ever found yourself at a gathering, eyeing the table laden with snacks, only to be drawn to a creamy, colorful dip that beckons for a tortilla chip—welcome to the world of Loaded Taco Dip. This dish is the ultimate crowd-pleaser, packed with layers of flavor that evoke the vibrant essence of a classic taco but in a dip form. The delightful combination of textures—from the creamy base to the crunchy toppings—makes it an irresistible choice for any occasion.
Loaded Taco Dip has roots in Tex-Mex cuisine, a fusion that brings together traditional Mexican flavors with American influences. Growing up, my family frequently hosted game nights where this dip would steal the show. It became a staple at our parties, and I still remember my aunt’s laughter as she watched everyone battle to scoop the last bits from the dish. As an easy party appetizer, it serves as a perfect bridge between comfort and festivity, making it a must-have at any gathering. You can learn more about this topic.
Why This Recipe Works
The beauty of Loaded Taco Dip lies in its versatility. It combines creamy textures with the vibrant flavors of classic taco ingredients like seasoned meat, fresh tomatoes, and zesty sour cream. You can easily customize it with your favorite toppings, ensuring that every batch feels unique. The use of fresh ingredients creates a dip that is not only flavorful but also visually appealing, making it the best dip for nachos and other crunchy snacks. Plus, it’s a simple dip recipe that can be prepared ahead of time, making it a hassle-free addition to any event. Check out our related guide for more tips.
Ingredients
| Ingredient | Amount |
|---|---|
| Ground beef or ground turkey | 1 pound |
| Taco seasoning | 1 packet (1 ounce) |
| Refried beans | 1 can (15 ounces) |
| Sour cream | 1 cup |
| Cream cheese, softened | 8 ounces |
| Shredded cheddar cheese | 2 cups |
| Chopped tomatoes | 1 cup |
| Sliced black olives | 1/2 cup |
| Sliced green onions | 1/4 cup |
| Fresh cilantro (optional) | 1/4 cup |
Note: For a lighter option, you can substitute ground turkey for ground beef, and low-fat cream cheese for regular. Fresh ingredients are crucial for bringing vibrant flavors, so opt for ripe tomatoes and fresh herbs if possible.
Steps / Instructions
| Step | Instructions |
|---|---|
| 1 | In a skillet over medium heat, cook the ground beef until browned, breaking it apart with a spatula, about 6-8 minutes. |
| 2 | Add the taco seasoning and a splash of water, stirring until the meat is well coated. Let it simmer for 2-3 minutes until the sauce thickens. |
| 3 | In a mixing bowl, combine softened cream cheese and sour cream until smooth and creamy. |
| 4 | Spread the refried beans evenly on the bottom of a serving dish or baking pan. |
| 5 | Layer the cream cheese and sour cream mixture over the beans, smoothing it out with a spatula. |
| 6 | Add the seasoned ground beef on top of the cream cheese layer, ensuring it’s evenly distributed. |
| 7 | Sprinkle shredded cheddar cheese over the meat layer, followed by chopped tomatoes, olives, and green onions. Finish with fresh cilantro, if desired. |
| 8 | Cover and refrigerate for at least 30 minutes to allow the flavors to meld before serving. |
Troubleshooting / Pro Tips
- Ensure your cream cheese is at room temperature for easy mixing.
- For a spicier kick, consider adding diced jalapeños to the meat mixture or layering them on top.
- If you have leftovers, store them in an airtight container in the fridge and consume within 3 days.
- When reheating, heat gently in the microwave or oven to avoid separating the layers.
FAQ
- Can I make this ahead of time? Yes, Loaded Taco Dip can be prepared a day in advance. Just layer the ingredients and cover them until you’re ready to serve.
- Can I freeze it? It’s not recommended to freeze this dip as it may affect the texture of the cream cheese and sour cream. Best enjoyed fresh.
- What can I serve with this dip? Serve with tortilla chips, veggie sticks, or even use it as a filling in tacos or burritos.
- Why did my dip turn out watery? Make sure to thoroughly drain canned ingredients like tomatoes and olives before adding them to avoid excess moisture.
Call to Action
Now that you’re equipped with the ultimate Loaded Taco Dip recipe, it’s time to gather your friends and make it happen! I invite you to share your experience in the comments below—let me know how it turned out or if you added your own twist. Don’t forget to snap a photo of your creation and tag us on social media! For more delicious recipes like this, be sure to subscribe and follow along. Happy dipping!
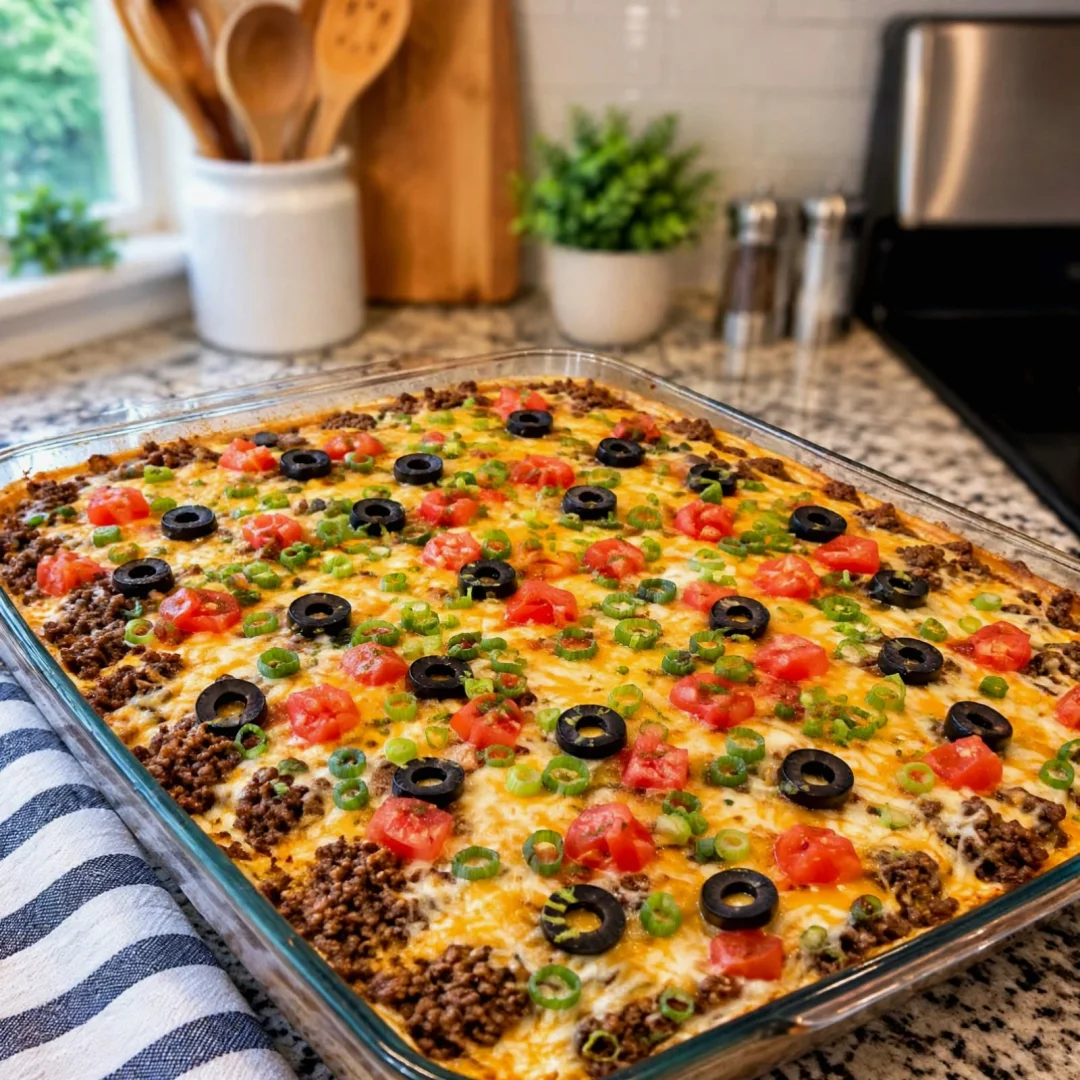
Loaded Taco Dip
The ultimate crowd-pleaser, packed with layers of flavor that evoke the vibrant essence of a classic taco but in a dip form.
Ingredients
- 1 pound Ground beef or ground turkey
- 1 packet Taco seasoning (1 ounce)
- 1 can Refried beans (15 ounces)
- 1 cup Sour cream
- 8 ounces Cream cheese, softened
- 2 cups Shredded cheddar cheese
- 1 cup Chopped tomatoes
- 1/2 cup Sliced black olives
- 1/4 cup Sliced green onions
- 1/4 cup Fresh cilantro (optional)
Directions
In a skillet over medium heat, cook the ground beef until browned, breaking it apart with a spatula, about 6-8 minutes.
Add the taco seasoning and a splash of water, stirring until the meat is well coated. Let it simmer for 2-3 minutes until the sauce thickens.
In a mixing bowl, combine softened cream cheese and sour cream until smooth and creamy.
Spread the refried beans evenly on the bottom of a serving dish or baking pan.
Layer the cream cheese and sour cream mixture over the beans, smoothing it out with a spatula.
Add the seasoned ground beef on top of the cream cheese layer, ensuring it's evenly distributed.
Sprinkle shredded cheddar cheese over the meat layer, followed by chopped tomatoes, olives, and green onions. Finish with fresh cilantro, if desired.
Cover and refrigerate for at least 30 minutes to allow the flavors to meld before serving.
Nutrition Facts
Recipe Reviews
- ★★★★★
Excellent recipe!
Leave a Reply
Your email address will not be published. Required fields are marked *






Excellent recipe!