
Table of Contents
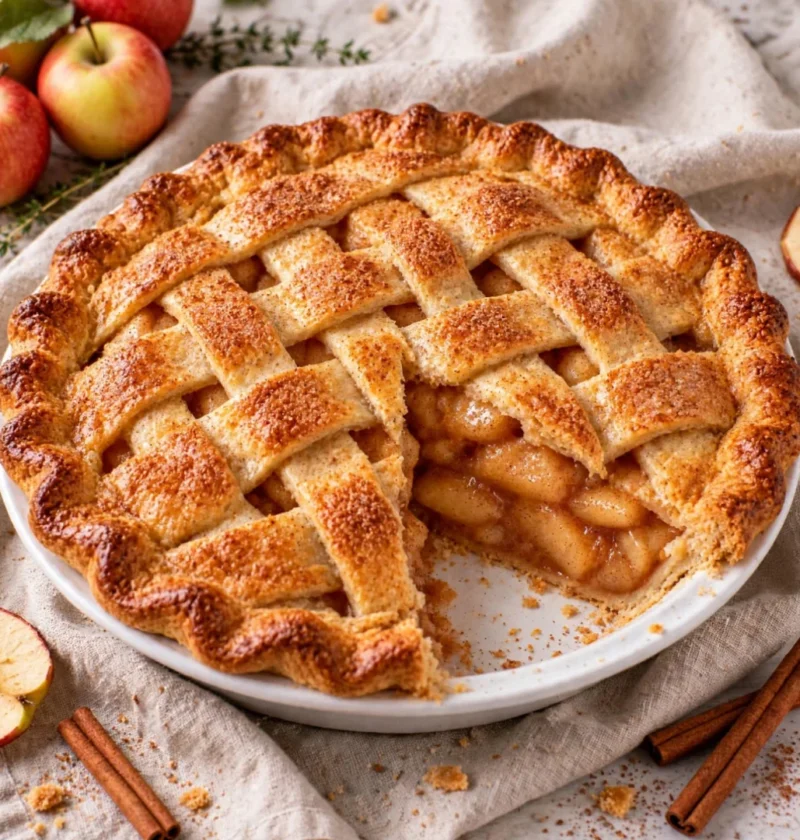
There’s something undeniably comforting about the aroma of a warm apple pie baking in the oven, the sweet scent of cinnamon wafting through the air, inviting everyone to gather around. If you’ve ever found yourself craving that cozy, homey experience, this easy apple pie recipe is exactly what you need. With its flaky pie crust and a delightful filling of sweet and tart apple flavors, it’s a true classic that brings joy to every occasion, especially during the fall season.
This recipe is a cherished family tradition, passed down through generations. I recall my grandmother standing in the kitchen, her hands expertly working the dough, while my siblings and I eagerly anticipated the first slice. Apple pie is more than just a dessert; it evokes memories of family gatherings, laughter, and the warmth of home. Today, we’ll create this delicious apple dessert together, ensuring that the spirit of those cherished moments shines through in every bite. You can learn more about this topic.
Why This Easy Apple Pie Recipe Works
This easy apple pie recipe combines the perfect balance of flavors and textures. The use of a flaky pie crust allows for a delightful crunch that complements the tender apples and warm spices. Choosing the best apples for pie is crucial; mixing sweet and tart varieties enhances the overall taste and depth of the filling. By following the baking tips included, you’ll achieve that golden-brown crust and perfectly cooked apples, ensuring your pie will be the star of any gathering. Check out our related guide for more tips.
Ingredients
| Ingredient | Amount |
|---|---|
| All-purpose flour | 2 ½ cups |
| Unsalted butter (cold, cubed) | 1 cup (2 sticks) |
| Granulated sugar | ¾ cup |
| Brown sugar (packed) | ¼ cup |
| Salt | 1 tsp |
| Ice water | 4-6 tbsp |
| Apples (peeled, cored, and sliced) | 6-8 cups (about 6-8 medium apples) |
| Cinnamon | 1 tsp |
| Nutmeg | ½ tsp |
| Lemon juice | 1 tbsp |
| Vanilla extract | 1 tsp |
| Egg (for egg wash) | 1 (optional) |
Note: For the best results, use a combination of sweet and tart apples like Granny Smith and Honeycrisp. If you’re looking for a gluten-free option, substitute all-purpose flour with a gluten-free blend.
Steps / Instructions
| Step | Instructions |
|---|---|
| 1 | In a large bowl, combine 2 ½ cups of all-purpose flour, 1 tsp of salt, and ¾ cup of granulated sugar. Blend well. |
| 2 | Add 1 cup of cold, cubed unsalted butter. Using a pastry cutter or your fingers, mix until the mixture resembles coarse crumbs. |
| 3 | Gradually add ice water, 1 tbsp at a time, mixing until the dough comes together. Divide into two equal portions, shape into disks, wrap in plastic, and refrigerate for at least 1 hour. |
| 4 | Preheat your oven to 425°F (220°C). |
| 5 | While the dough chills, prepare the apple filling. In a large bowl, combine sliced apples, ¼ cup of brown sugar, 1 tsp of cinnamon, ½ tsp of nutmeg, 1 tbsp of lemon juice, and 1 tsp of vanilla extract. Toss until well coated. |
| 6 | Roll out one dough disk on a floured surface to fit a 9-inch pie pan. Carefully place the dough in the pan, letting any excess hang over the edges. |
| 7 | Fill with the apple mixture, mounding slightly in the center. |
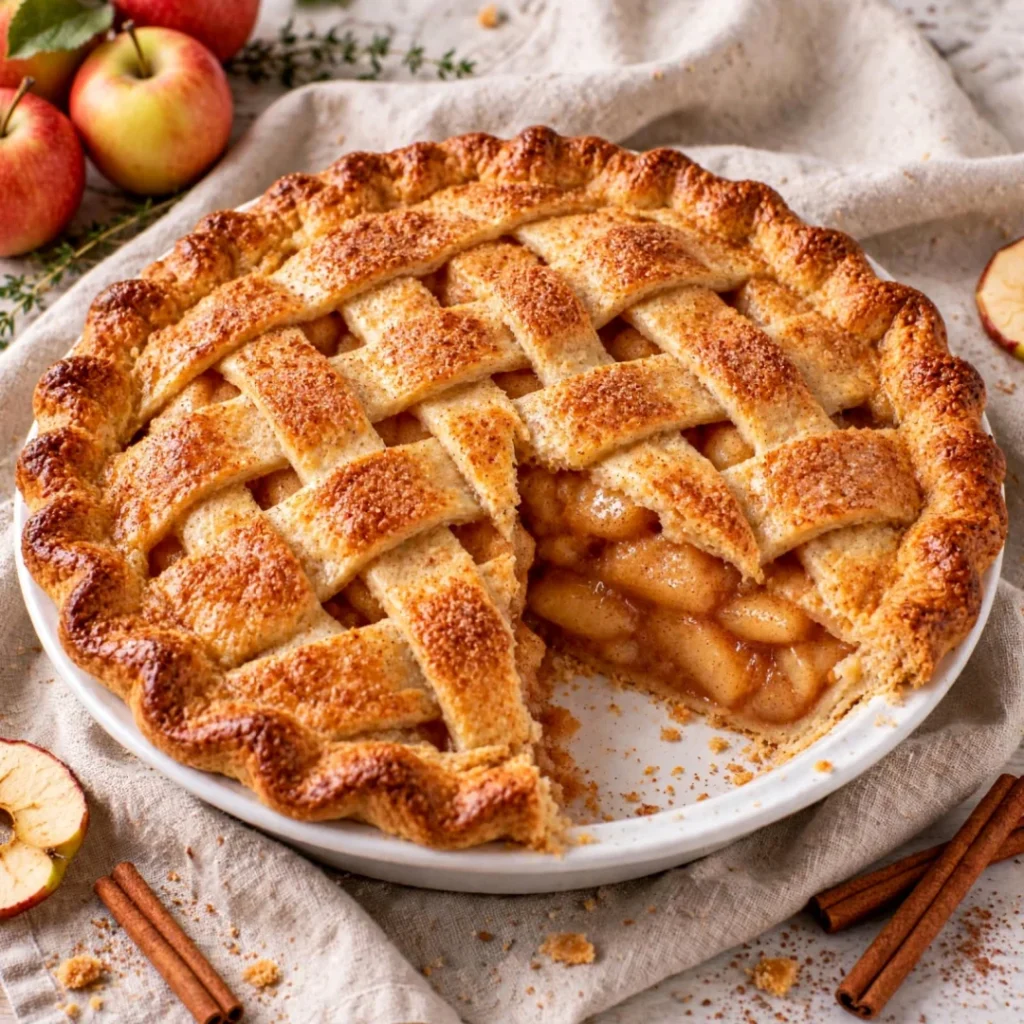
| 8 | Roll out the second dough disk for the top crust. You can either place it whole or cut it into strips for a lattice design. Seal the edges by crimping with your fingers or a fork. |
| 9 | If desired, brush the top crust with beaten egg for a golden finish. |
| 10 | Bake for 45-50 minutes or until the crust is golden brown and the filling is bubbling. Let cool for at least 2 hours before slicing. |
Troubleshooting / Pro Tips
- If your crust is too crumbly, you may need to add more water, a tablespoon at a time, until it holds together.
- To prevent a soggy bottom crust, bake the pie on a lower rack and consider pre-baking the bottom crust for 10 minutes before adding the filling.
- For an extra flavor boost, add a pinch of allspice or cardamom to the apple filling.
- Keep an eye on the pie towards the end of baking to prevent over-browning. Cover the edges with aluminum foil if they brown too quickly.
Serving Suggestions
This easy apple pie is best served warm, perhaps with a scoop of vanilla ice cream melting atop each slice. It’s a delightful dessert for fall gatherings, holidays, or simply to enjoy on a cozy night in. For storage, cover the pie with foil and keep it at room temperature for up to 2 days, or refrigerate for longer freshness.
FAQ
Can I make this ahead of time?
Yes, you can make the pie a day in advance. Just store it covered in the refrigerator and reheat before serving.
Can I freeze it, and how do I reheat it properly?
Absolutely! You can freeze the pie unbaked or baked. For an unbaked pie, wrap it tightly and freeze for up to 3 months. Bake from frozen, adding additional time. For a baked pie, thaw overnight in the fridge and reheat in a 350°F (175°C) oven until warmed through.
What are some common ingredient substitutions?
If you need a gluten-free version, opt for a gluten-free flour blend. For a dairy-free option, use a plant-based butter substitute.
Why did my apple pie turn out runny?
A runny filling can result from using too much liquid in the apple filling or not baking the pie long enough. Make sure to measure apples properly and allow adequate baking time.
What can I serve with this?
Beyond ice cream, serving whipped cream or a drizzle of caramel sauce elevates this dessert further. It pairs beautifully with a warm cup of spiced cider or coffee.
Conclusion
Now that you have all the steps to create this easy apple pie recipe, I can’t wait for you to try it! Leave a comment below with your thoughts or a star rating if you enjoyed it. Did you add your own twist? Share a photo on social media and tag us; I’d love to see your beautiful creations! Don’t forget to subscribe for more easy dessert recipes that will make your gatherings memorable.
Easy Apple Pie
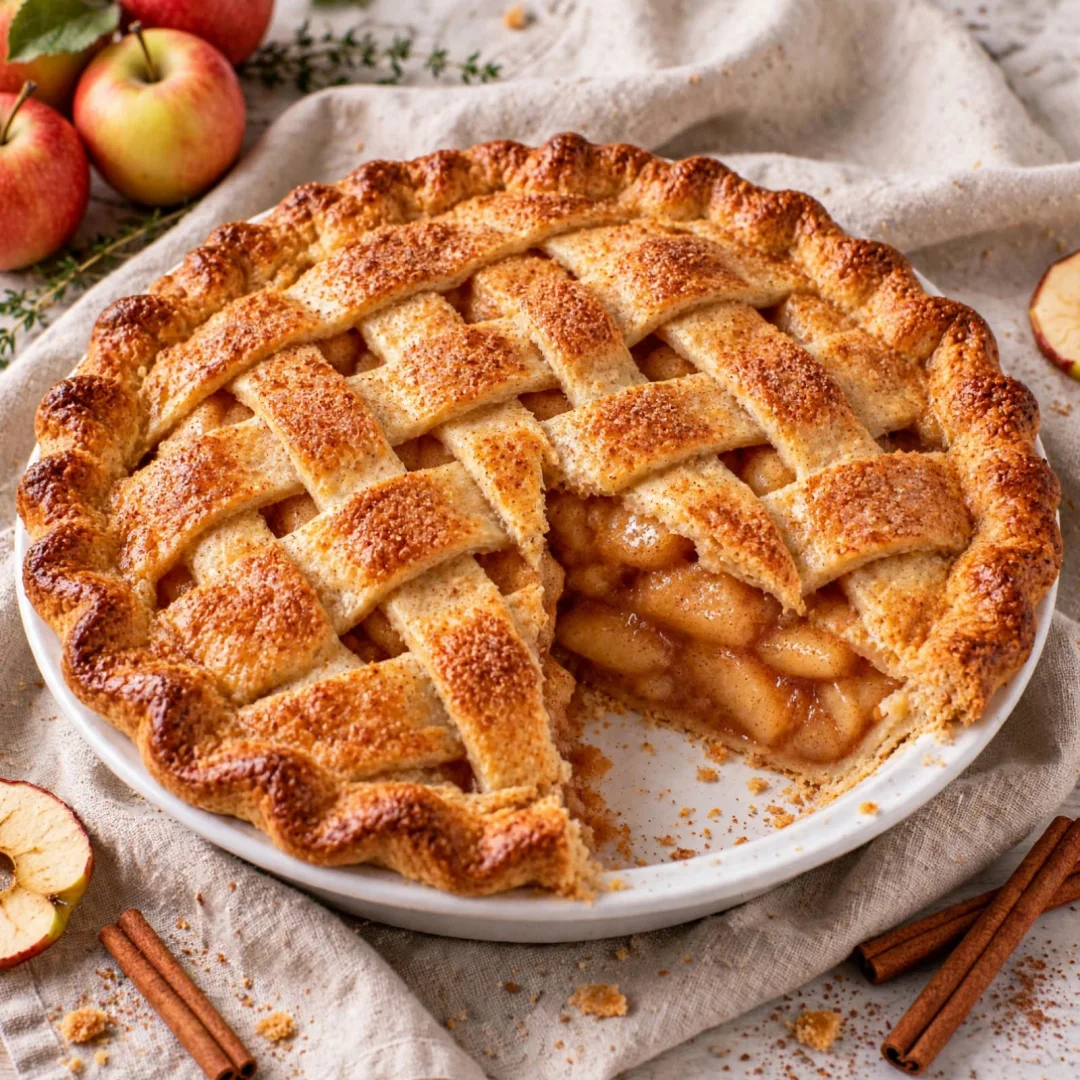
There's something undeniably comforting about the aroma of a warm apple pie baking in the oven, the sweet scent of cinnamon wafting through the air, inviting everyone to gather around. This easy apple pie recipe is exactly what you need with its flaky pie crust and a delightful filling of sweet and tart apple flavors.
Ingredients
- 2 ½ cups all-purpose flour
- 1 cup unsalted butter (cold, cubed)
- ¾ cup granulated sugar
- ¼ cup brown sugar (packed)
- 1 tsp salt
- 4-6 tbsp ice water
- 6-8 cups apples (peeled, cored, and sliced)
- 1 tsp cinnamon
- ½ tsp nutmeg
- 1 tbsp lemon juice
- 1 tsp vanilla extract
- 1 egg (for egg wash, optional)
Directions
In a large bowl, combine 2 ½ cups of all-purpose flour, 1 tsp of salt, and ¾ cup of granulated sugar. Blend well.
Add 1 cup of cold, cubed unsalted butter. Using a pastry cutter or your fingers, mix until the mixture resembles coarse crumbs.
Gradually add ice water, 1 tbsp at a time, mixing until the dough comes together. Divide into two equal portions, shape into disks, wrap in plastic, and refrigerate for at least 1 hour.
Preheat your oven to 425°F (220°C).
While the dough chills, prepare the apple filling. In a large bowl, combine sliced apples, ¼ cup of brown sugar, 1 tsp of cinnamon, ½ tsp of nutmeg, 1 tbsp of lemon juice, and 1 tsp of vanilla extract. Toss until well coated.
Roll out one dough disk on a floured surface to fit a 9-inch pie pan. Carefully place the dough in the pan, letting any excess hang over the edges.
Fill with the apple mixture, mounding slightly in the center.
Roll out the second dough disk for the top crust. You can either place it whole or cut it into strips for a lattice design. Seal the edges by crimping with your fingers or a fork.
If desired, brush the top crust with beaten egg for a golden finish.
Bake for 45-50 minutes or until the crust is golden brown and the filling is bubbling. Let cool for at least 2 hours before slicing.
Recipe Reviews
- ★★★★★
Excellent recipe!
Leave a Reply
Your email address will not be published. Required fields are marked *

Excellent recipe!